Learning new skills in a phase of isolation
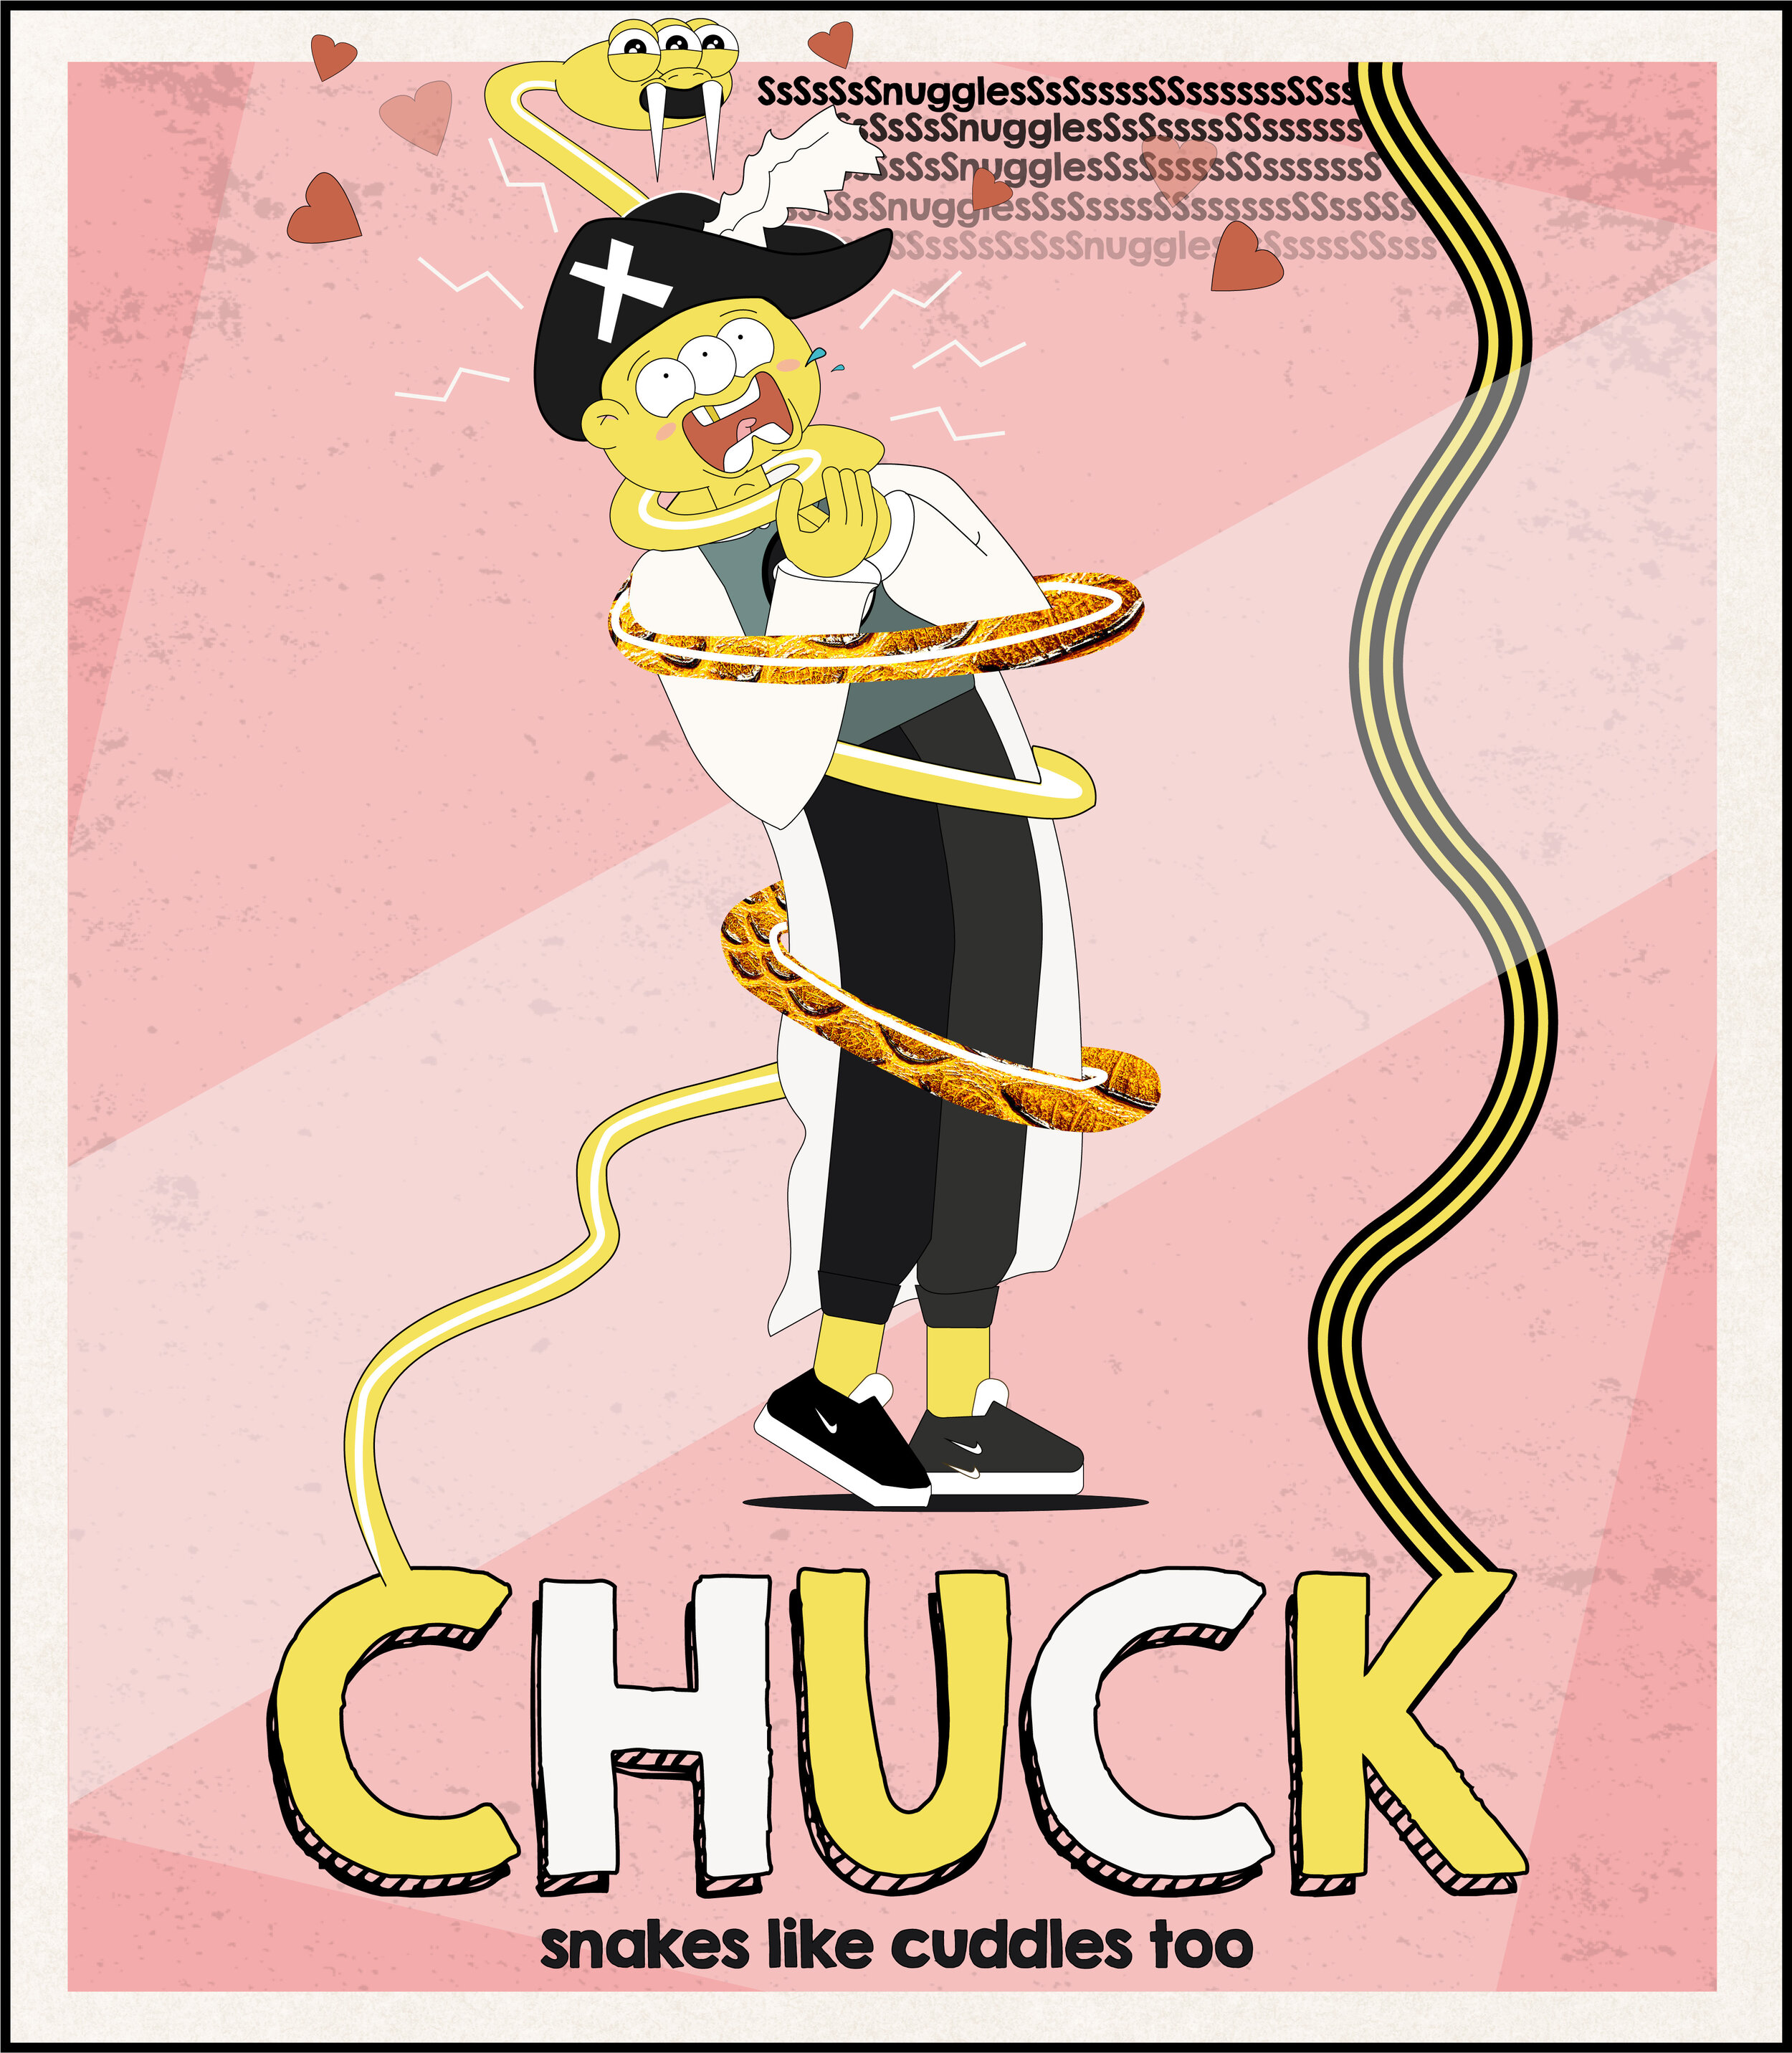
Meet Chuck. He’s a three-eyed teen with an ambitious dream.
His dream is to move like his mates, but right now he’s static as a caravan with no wheels. Stuck here, with that blank look across his face. Why’s he wearing a pirate hat and Nike trainers? He doesn’t even know… But, just like us, he really wants to.
It is my #coronamission (a mission taken place during the corona pandemic), to animate him TO LIFE.
I’ve been following the work of The Motion Design School for a while, and toyed with the idea of enrolling on a character design/animation course for some time. It’s finally time to address that thought and unlock fluid character animation - something that’s been missing from my animation skillset for a little too long.
I’m going through lesson by lesson and learning a lot about Illustrator, a program I’ve fallen into a routine slump with over the years as an animator, and it’s broadening my knowledge of shortcuts and tools quite dramatically, and I’m only on the fourth lesson! So… do courses, people.
I’m going to use this blog to detail my progress, review the Motion Design School course (and course creator Markus Magnusson) and add some useful animation/illustration tips to sweeten the deal for any aspiring animators out there.
WEEK ONE
I spent the first day designing Chuck (and his snake companion) by following Markus’s lesson on blocking out a character, then a second lesson on adding details. I’ve made sure to keep the key body shapes the same as his design, so when it comes to rigging for animation, I should still be able to follow his steps and achieve a similar result.
SIDE NOTE: In my opinion, Markus is genuinely funnier than when people go to safaris and the monkeys steal their car’s rims. He’s made the learning process extremely fun, by adding segments of comedy (quite regularly) and with a bouncy vocal tone that really pumps your own excitement for the project. If you haven’t heard of him or seen his work, check him and the Motion Design School out - it’s clean, crazy AND cool.
A lesson on posing was useful, especially the information about the line of action. I can tell the theory he’s provided in this lesson is going to come into fruition BIG TIME further down the line.
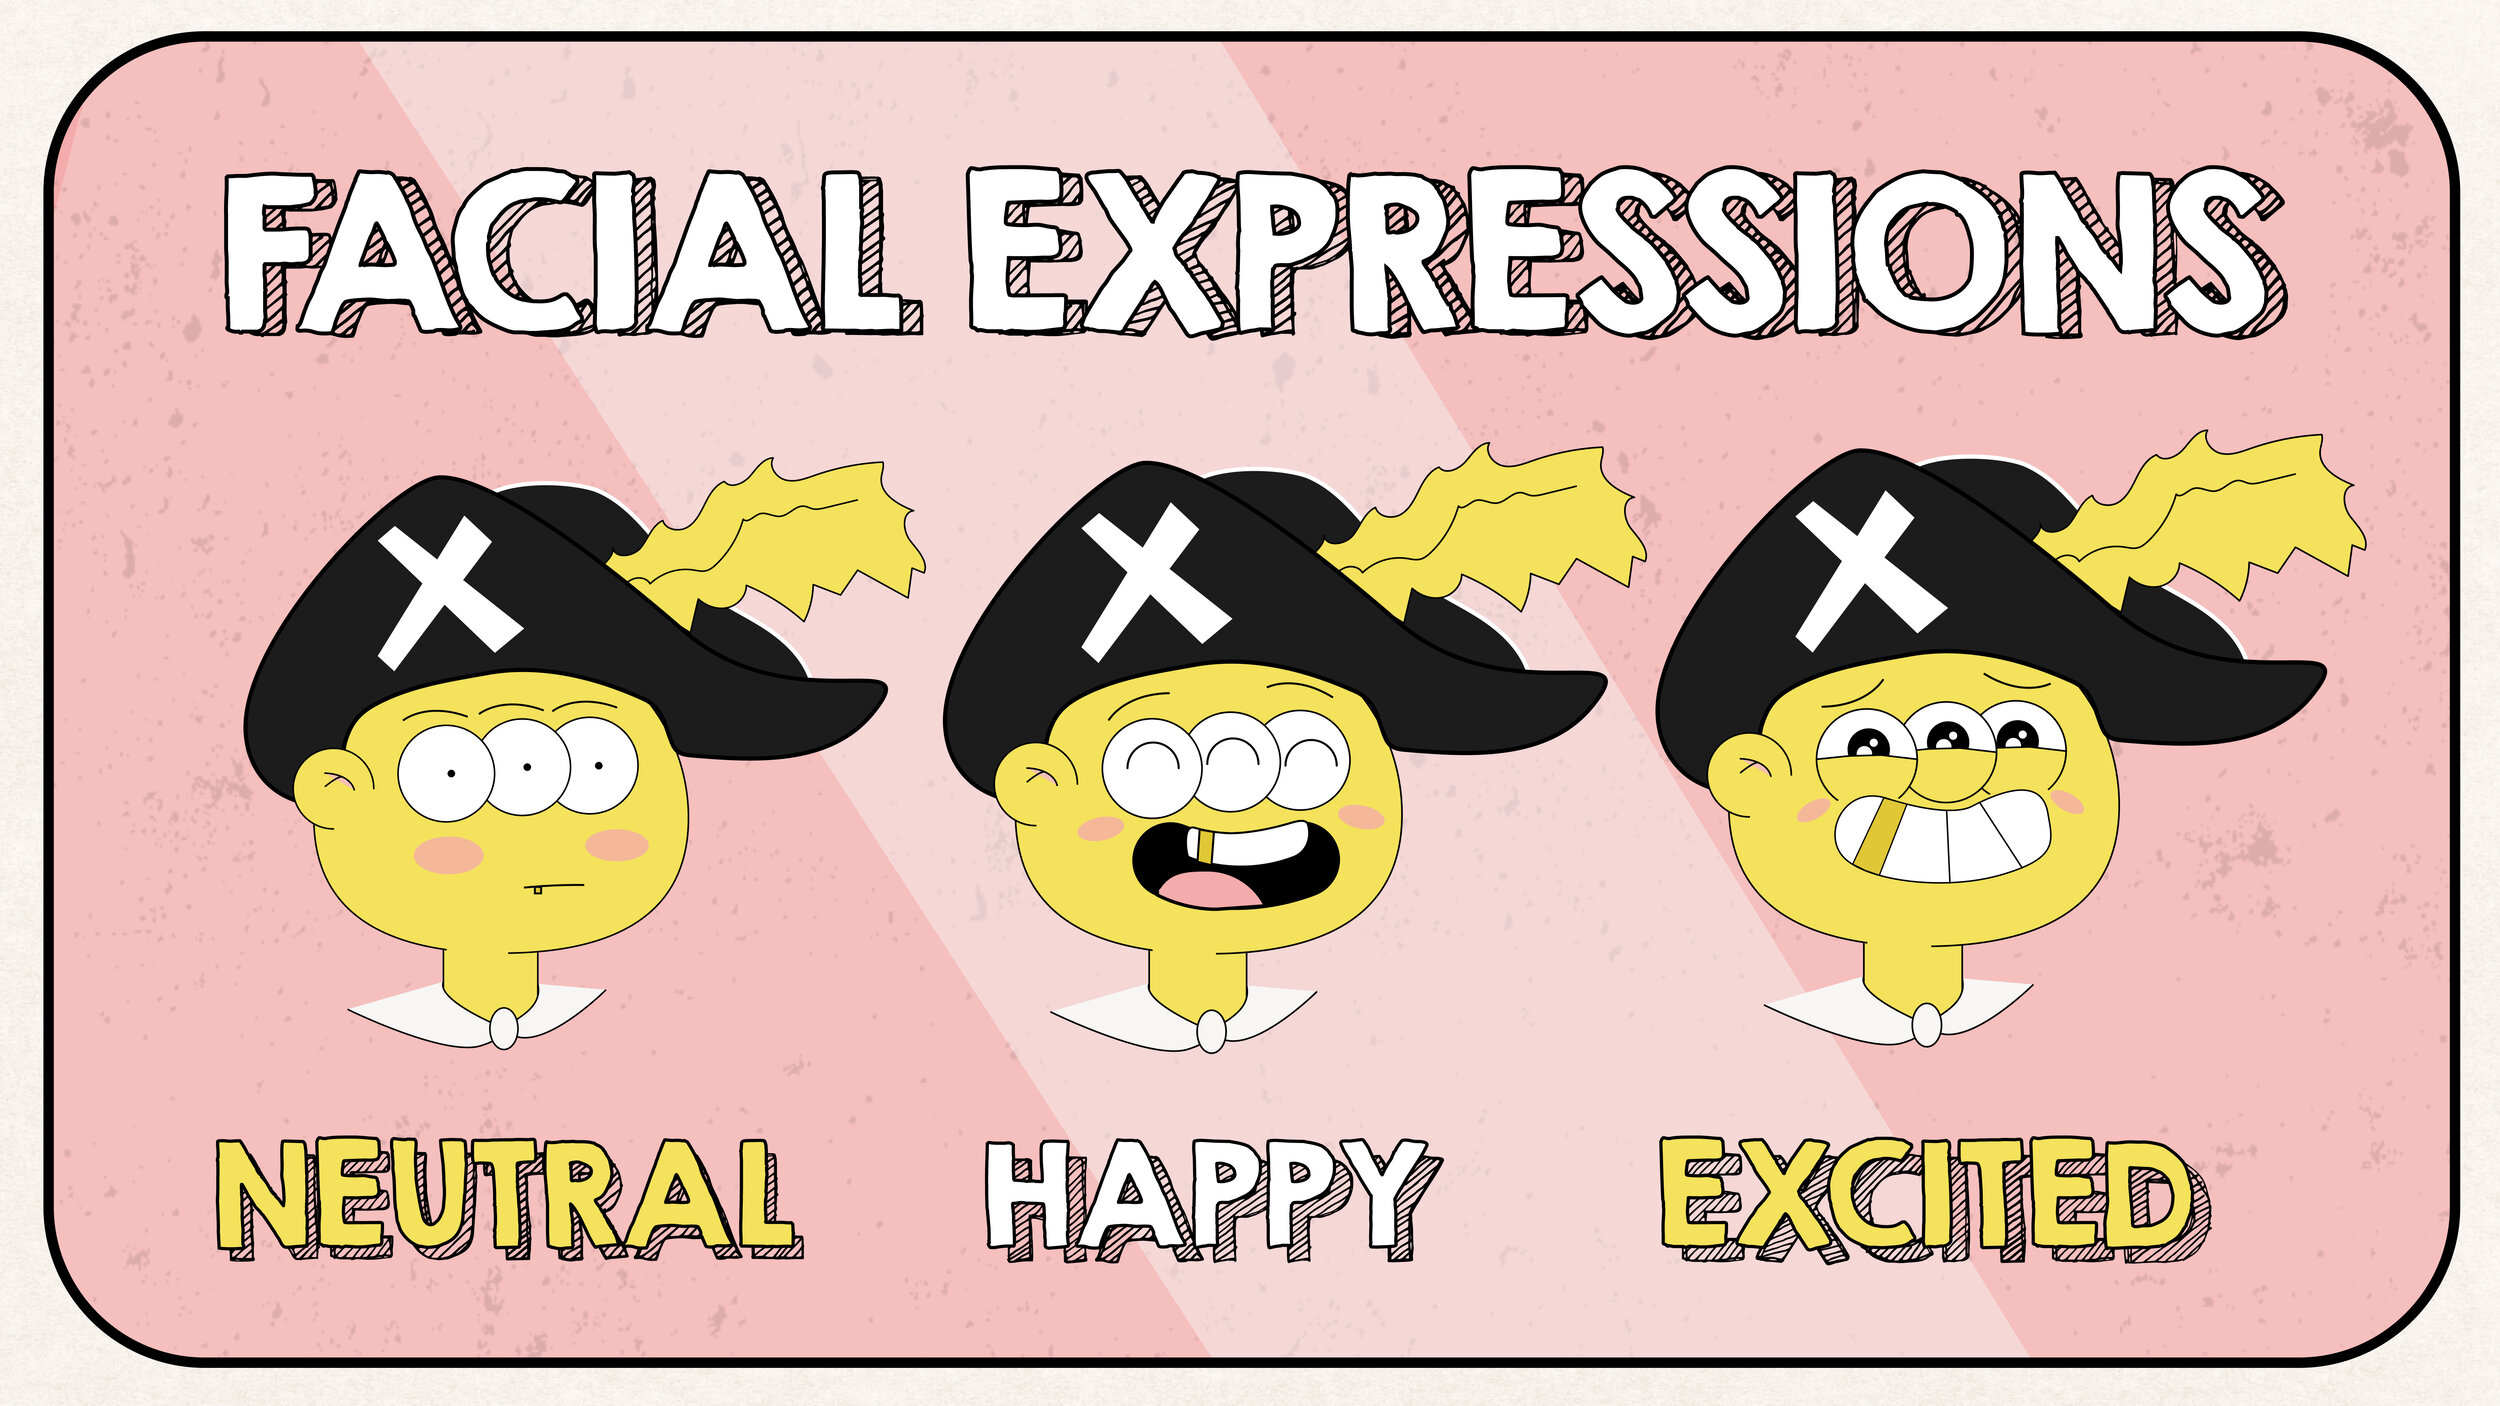
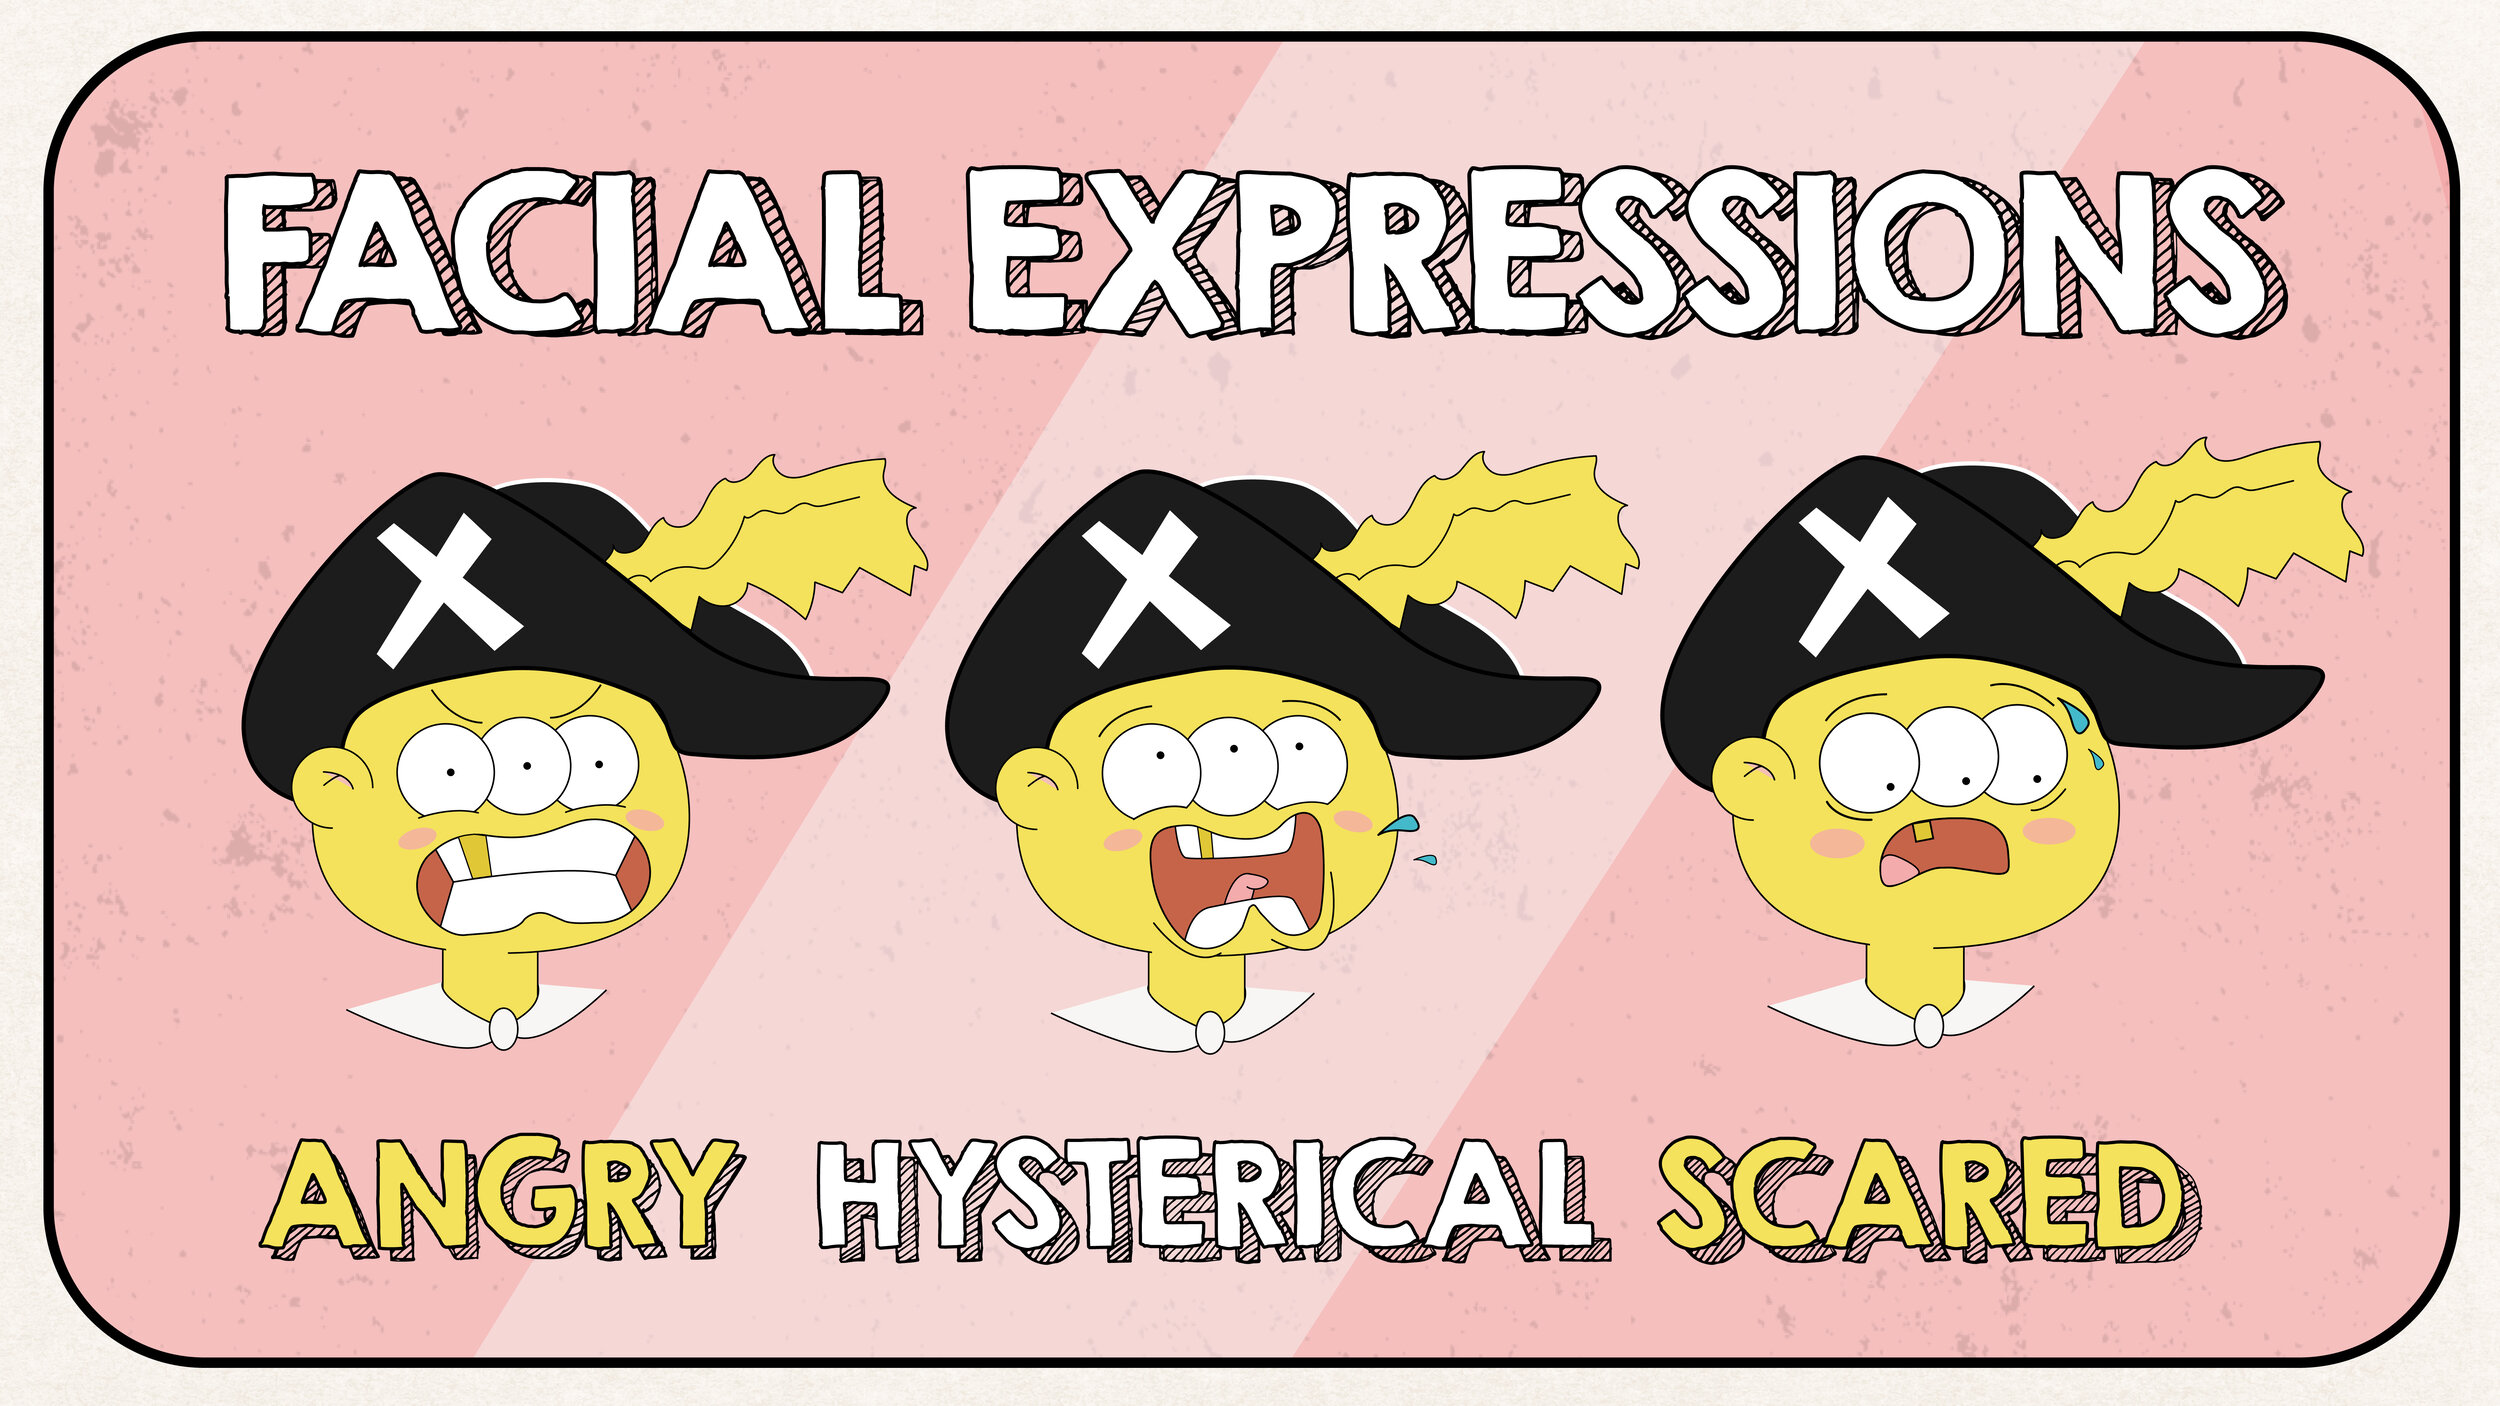
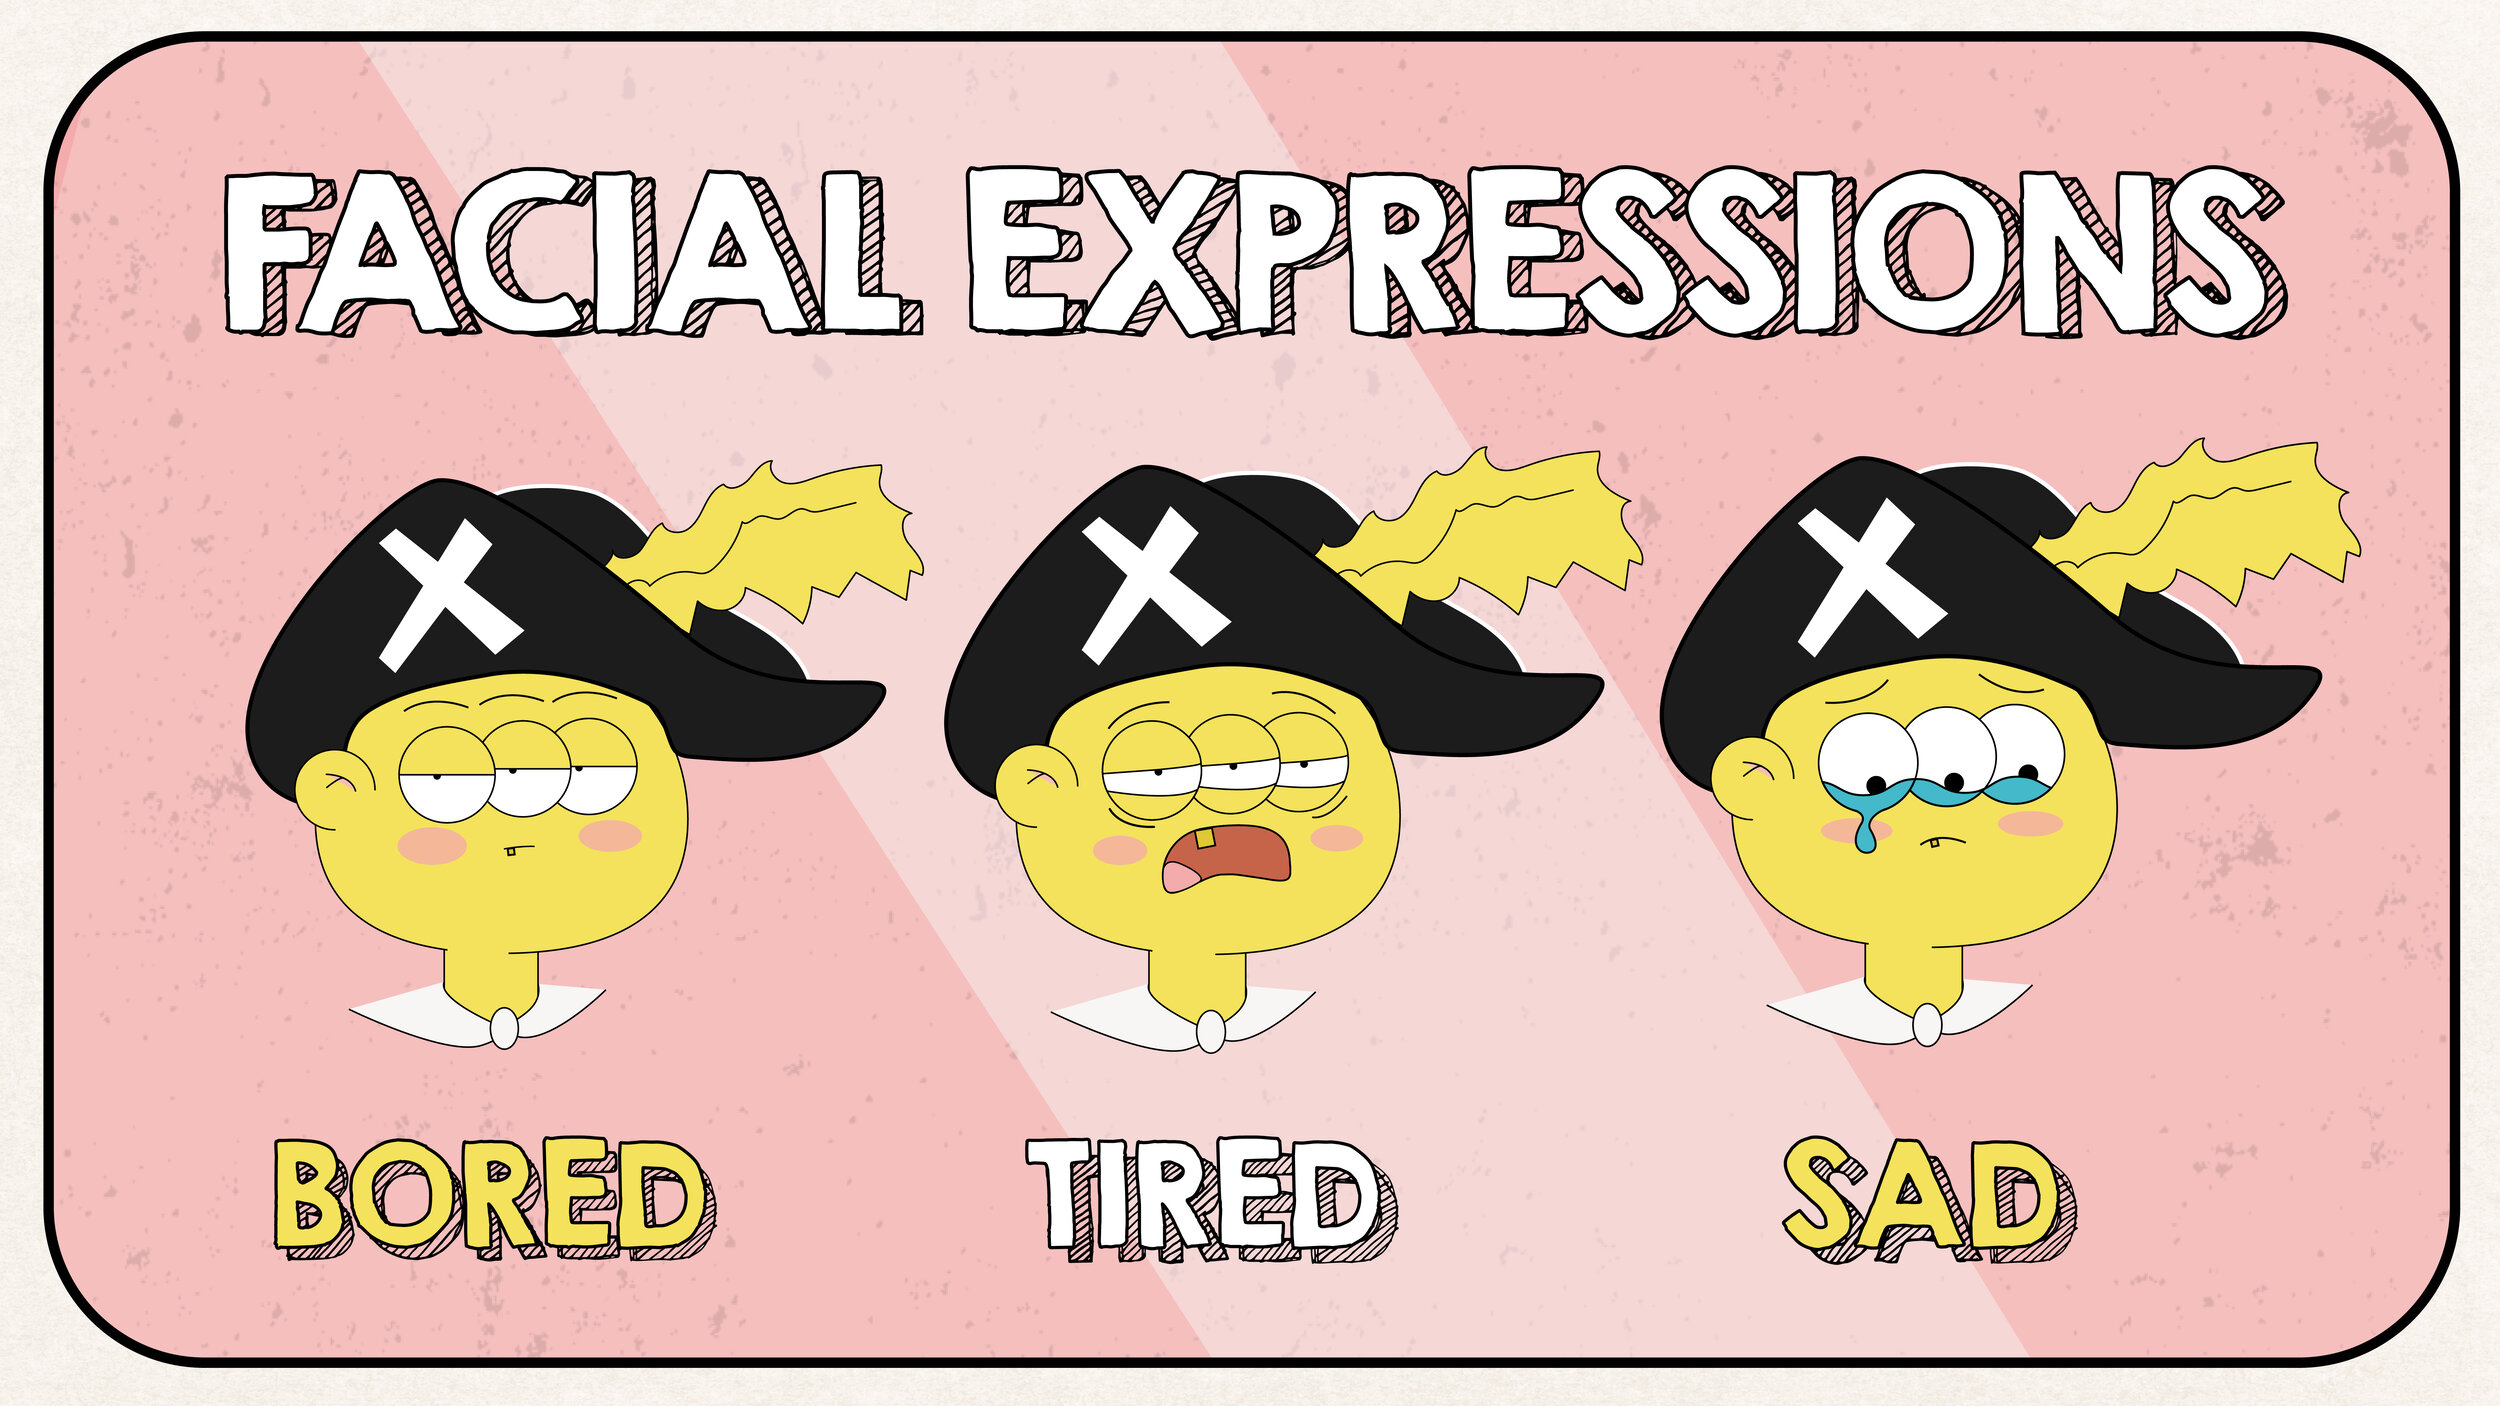
Next up we have facial expressions. Now, this was a lot of fun. It’s great learning in a way that maximises efficiency, using the same features from different faces, or simply inverting features to create the desired mood. I’ve collated the 9 facial expressions below for you to check out:
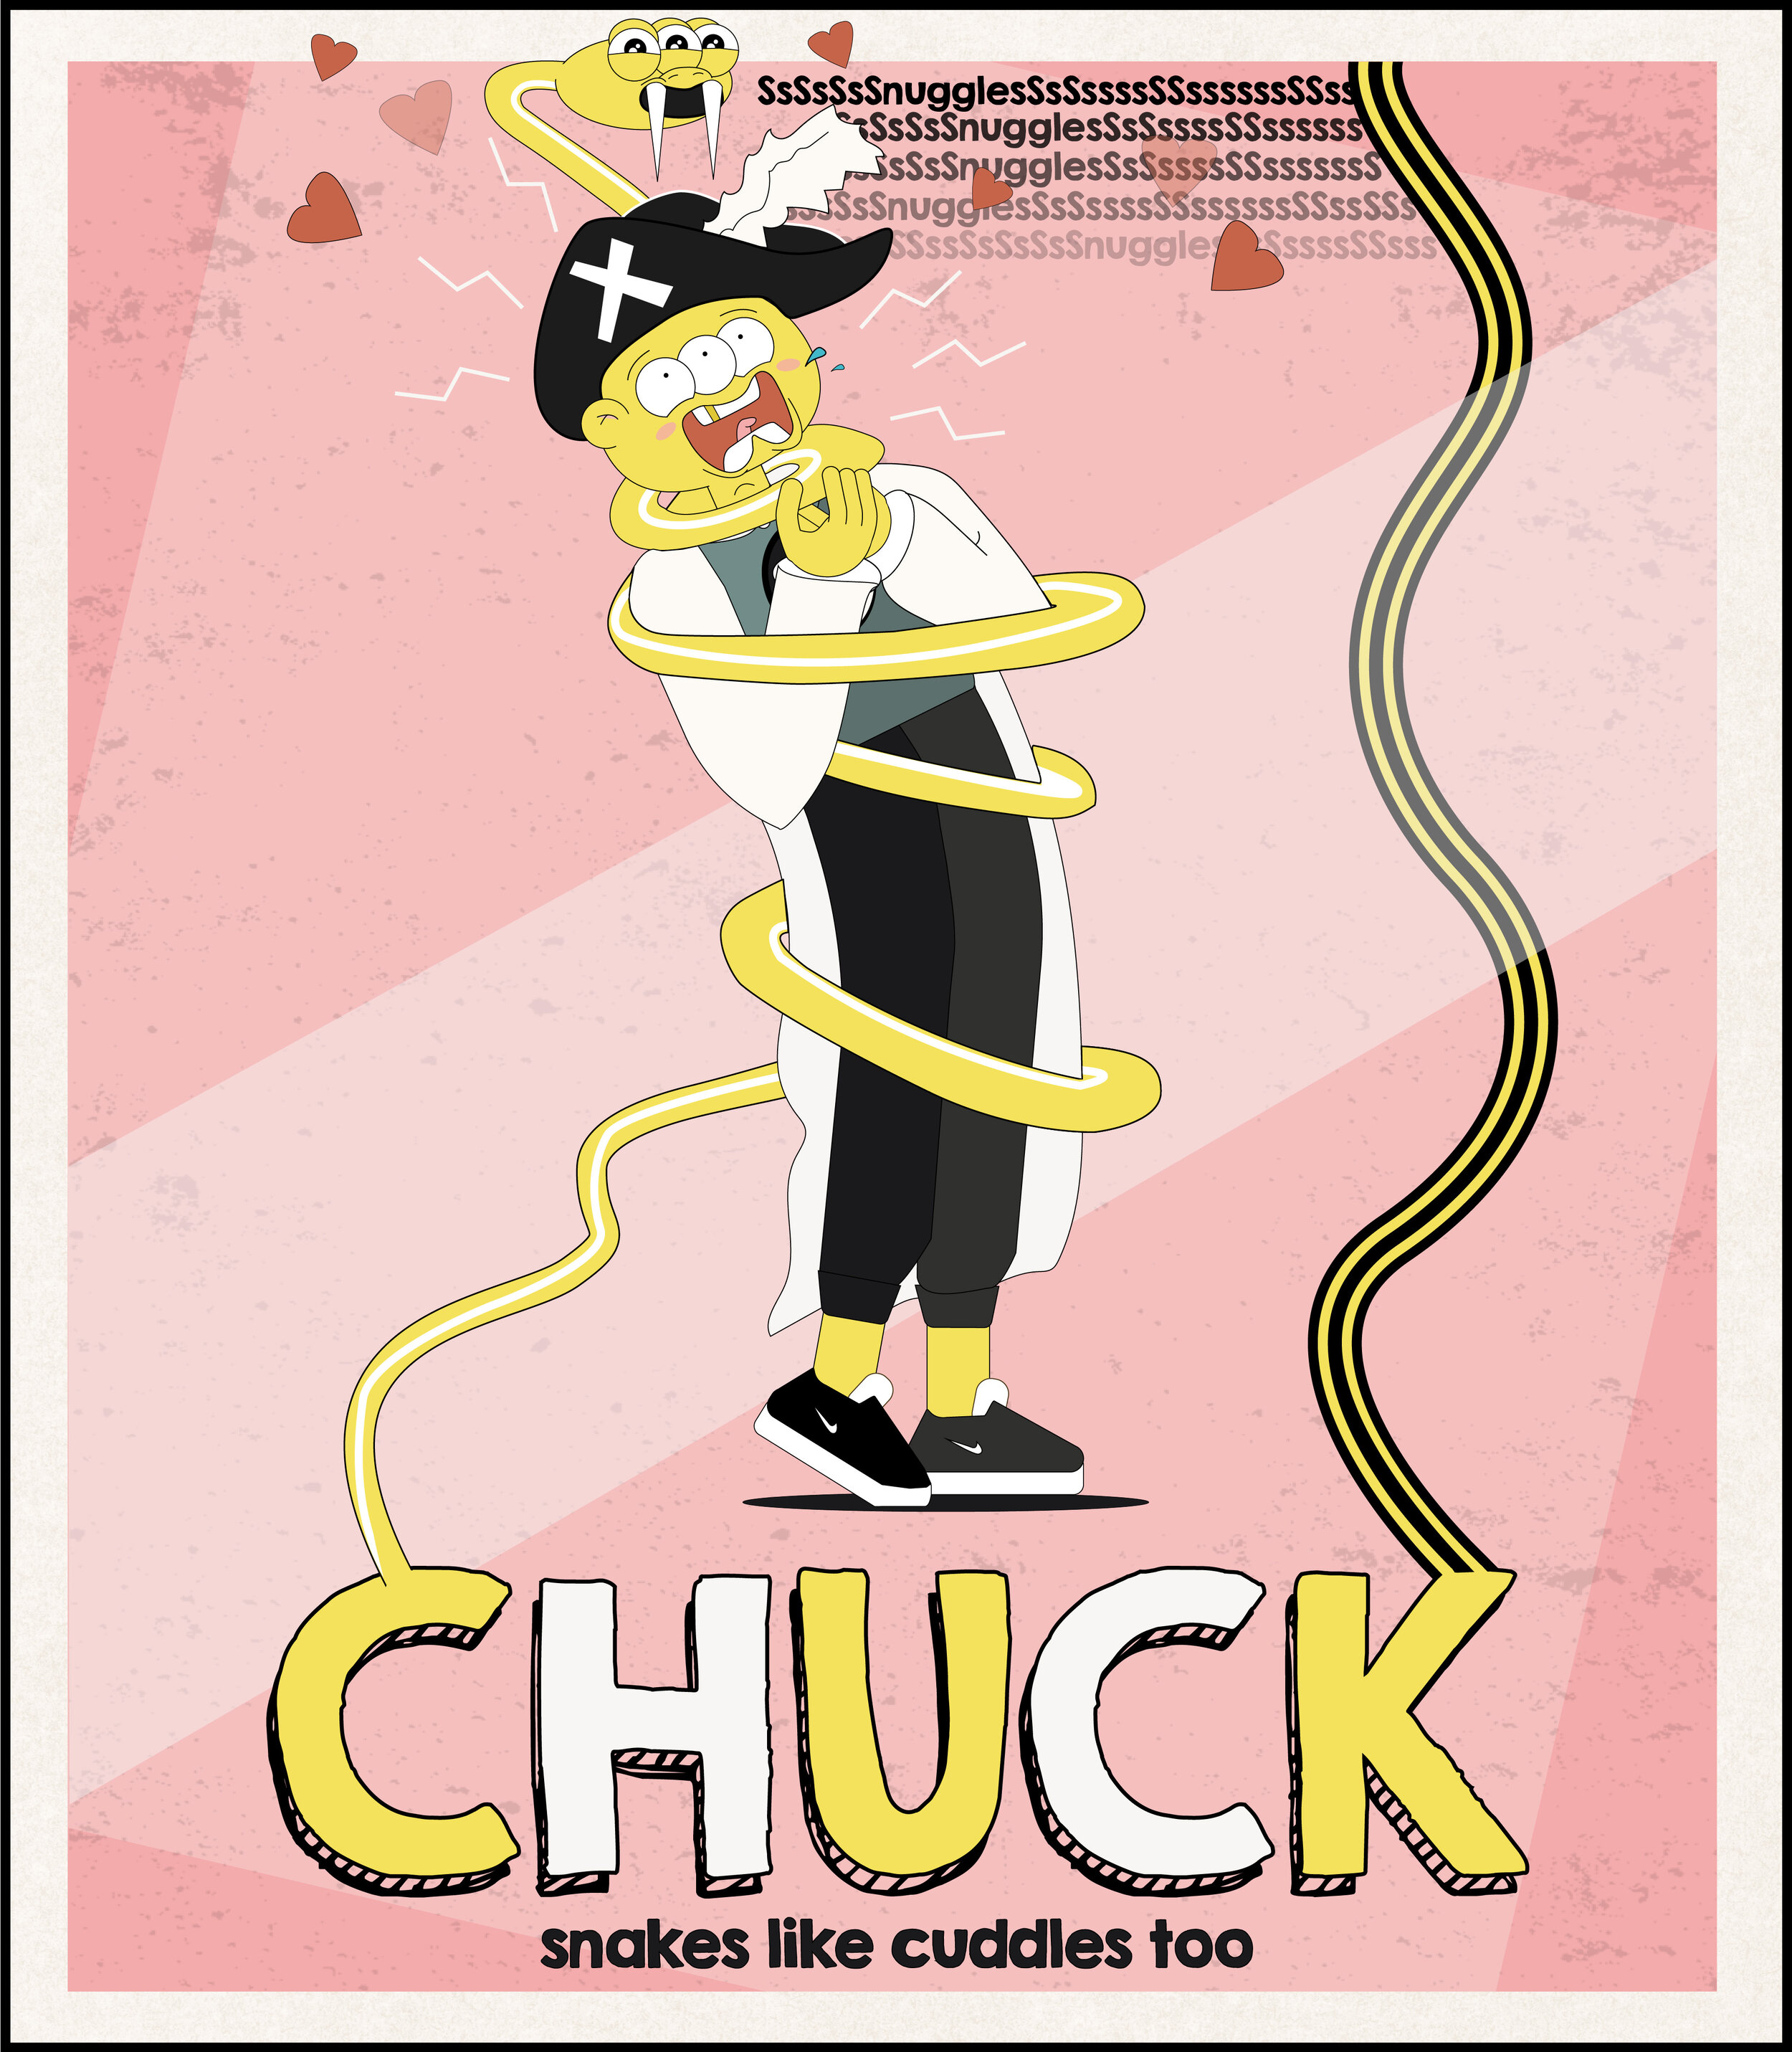
After lesson four on facial expressions, the “homework” involved creating a pose and expression which work in unison. Here’s what I went with - notice the dilemma i’m having between these two images - one used collage on segments of the snake, and one does not… which do you prefer?
A week down the line, and multiple lessons later, Chuck found his feet. It turns out they were attached to his legs all along!
I animated Chuck using the Character Tool script for AE, which involved tedious amounts of learning and tweaking, but I now have the pleasure of showing a leaping Chuck to you all…
I’m expecting to put Chuck into some short animated scenarios over the coming week, so look out for updates here and on www.facebook.com/theanimind. If you have any suggestions of short scenes/sketches, shoot them my way below and I’ll credit you if I choose to ahead with it! Tell ya friends.
UPDATE! One week later and BOOM! Chuck’s hosting his own exercise tutorial video. Get hot and sweaty with the PT from outer space BELOWWWW:
Then, a couple of weeks later, came my second character design “Ptrevor” - fun-loving pterodactyl who gets a kick from nicking chips.
Naughty Ptrevor.


